Dispenser Instructions.
Step by step guide to install, refill, and maintain your DAME dispensers.

STEP 1
Find your spot.
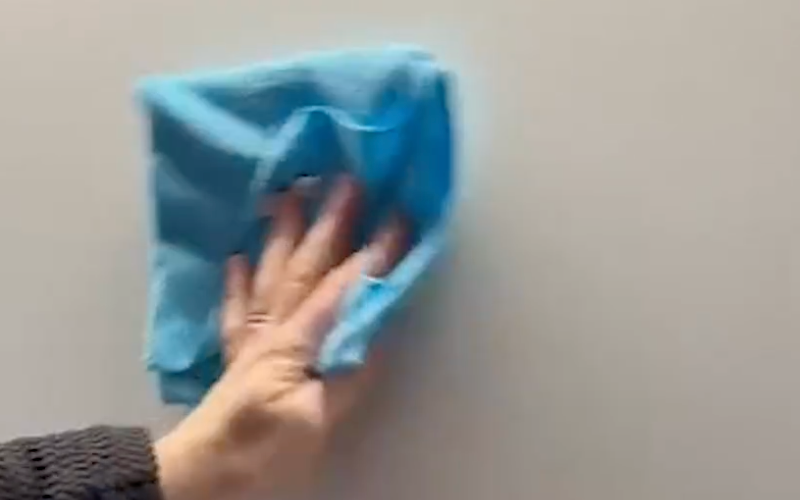
Choose a smooth or tiled wall area free from any loose material. Wipe clean with a damp cloth, removing any dust, and let dry.
💡 If the wall surface is not suitable, that's OK. Follow all steps, then mark where the screw holes are, remove batons, and use plugs and screws included.

STEP 2
Get it straight.
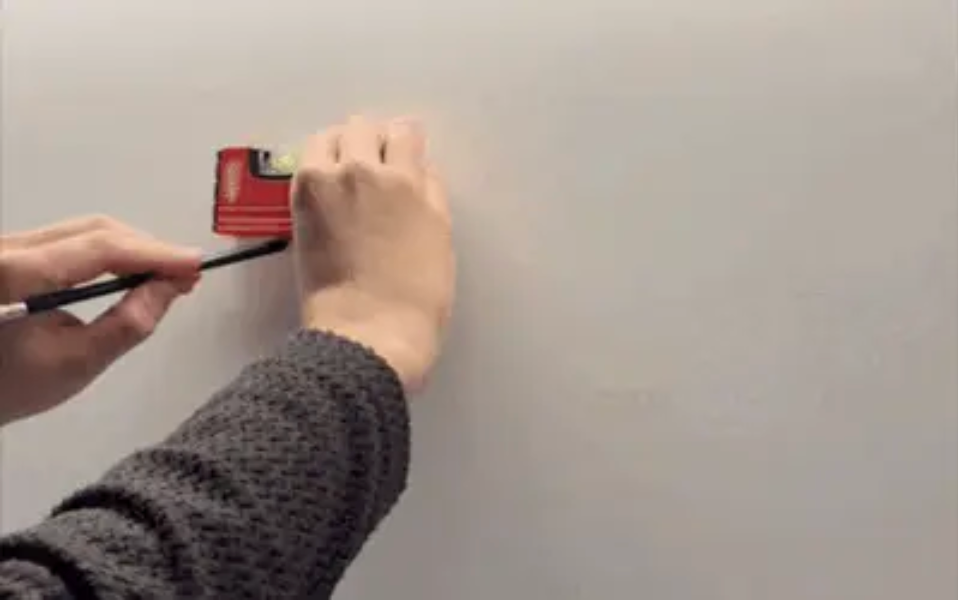
Use a level (there's one on every iphone!) to mark a flat line where the top will be, watching out for doors opening.
💡 Remember to think about accessibility, correcting the height for disabled toilets.

STEP 3
Attaching.
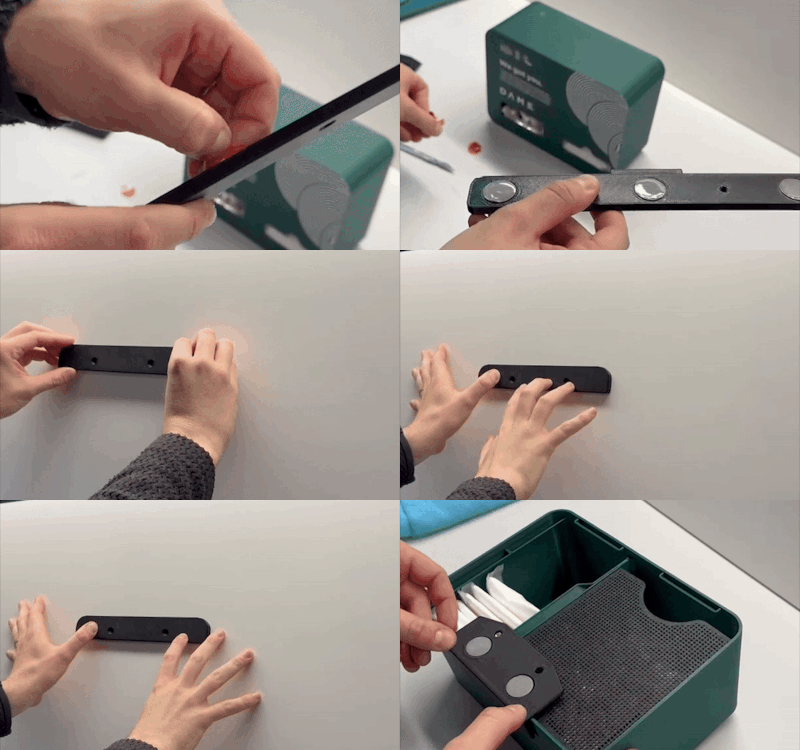
Peel off the 3 sticky tabs on the longer baton and hold it against the wall for 60 seconds. Once firmly in place, peel off the the 2 tabs from the small baton, click baton into bottom of dispenser.
💡 If you are using screws, peel just 1 tab and press lightly as you will need to remove the batons to drill in plugs.

STEP 4
Mounting.
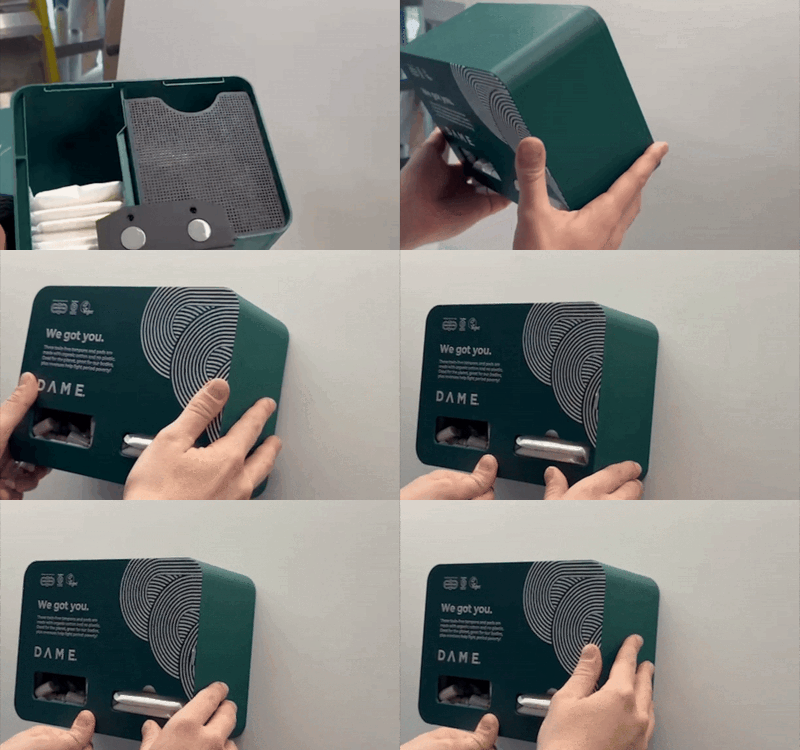
Your moment of truth. Mount on the long wall baton by hooking top of dispenser rim over over the baton. Push firmly on bottom for 60 seconds to ensure good contact of bottom baton with wall. You're done.
💡 NOTE: If you are screwing in, push lightly as you will need to remove the batons to drill in plugs.
